First Time Multi-Factor Authentication (MFA) Setup
- Winter Morse (Deactivated)
- Virginia Oelkers
Owned by Winter Morse (Deactivated)
- From the Westminster homepage, navigate to either Current Student Resources or Faculty and Staff Resources page.
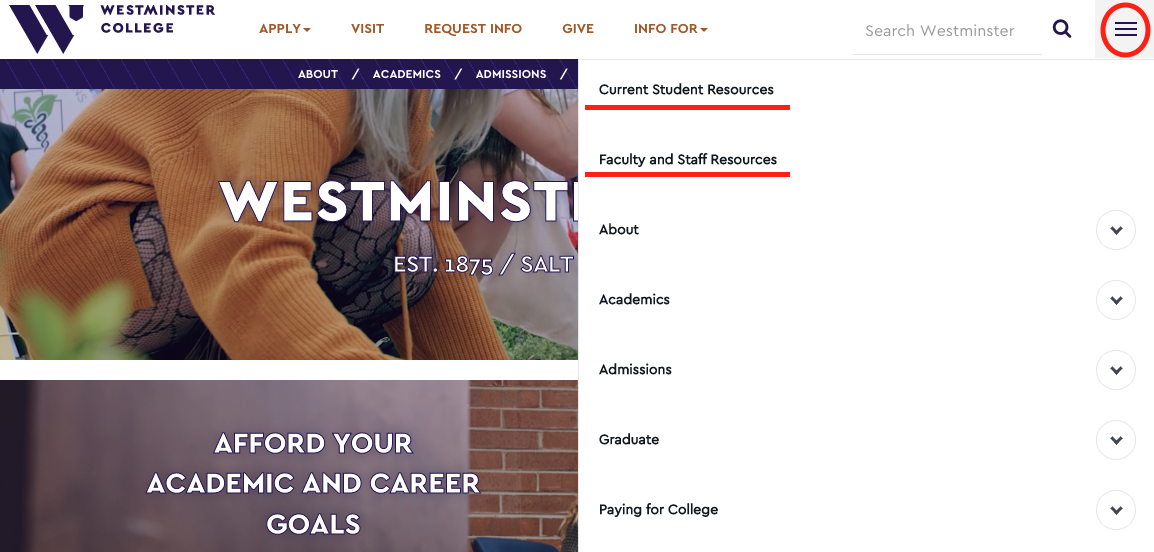
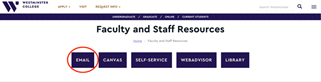
- Click the purple button that says EMAIL.
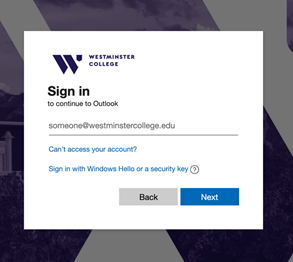
- You will be brought to a sign in page. Enter in your full Westminster email address, username@westminsteru.edu, then enter your password.
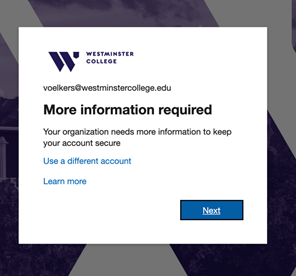
- You will then see a message that says “More information required”. This just means that you have not yet set up your security info that you will use to authenticate your sign ins when you are off campus. Click “Next” to start that setup process.
- You will then see a page that says “Keep your account secure”. This page is wanting you to set up your first method of authentication. Normally, it will first recommend the Microsoft Authenticator app. Go to your phone’s app store and download the Microsoft Authenticator App. Then click “Next” on the computer.
If you do not have a smart phone or do not want to download an application, click “I want to set up a different method” in the very bottom left. We will go over setup for the other methods in later steps.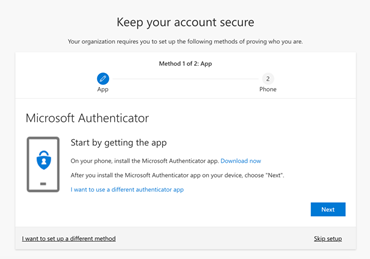
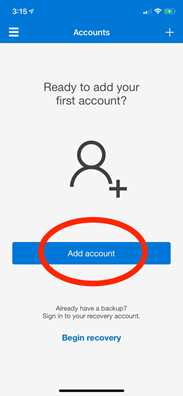
- You will see the next set up instructions online. It is telling you to open the app on your phone and click “Add Account”.
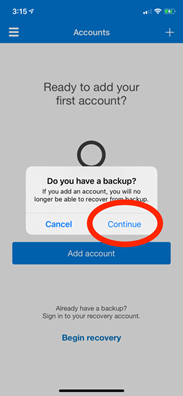
- If you get the message asking “Do you have a backup?”, click “Continue”.
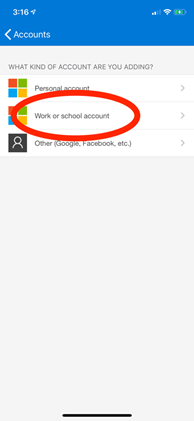
- Click “Work or school account”, then click “Next” on the computer.
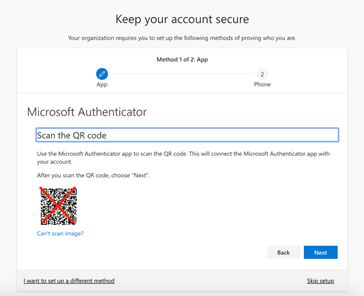
- On the computer, you will now see a QR code. On your phone, the app should now be working as a camera/QR scanner. Use your phone to scan the QR code. Then click “Next”.
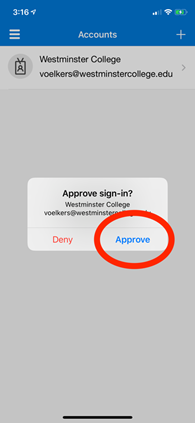
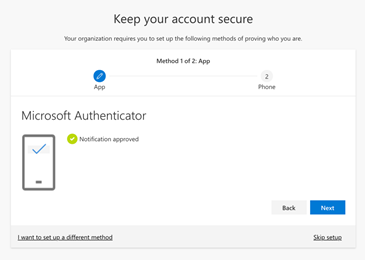
- You will then be sent a test notification to your app to finish setup. Click “Approve” on the app, then click “Next” on the computer.
- Click “Next” to finish setup of the app and move onto the next method.
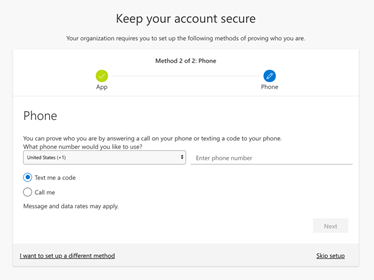
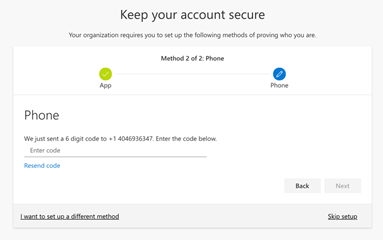
- You will then be asked to set up a phone number to receive texted codes. Select the correct region if not United States, then enter your phone number. Click “Next”.
- You should then receive a code texted to the number your entered. Type that code in the space provided, then click “Next”.
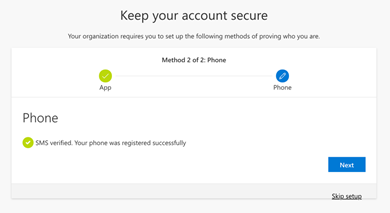
- This page will confirm that setup of your phone number was successful. Click “Next” to finish.
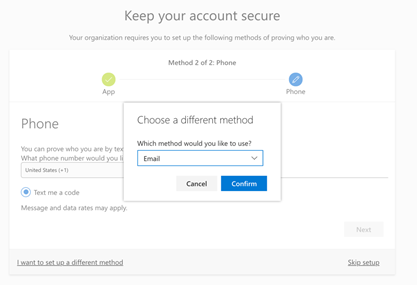
- If you chose to click “I want to set up a different method”, you will see this page asking you to choose a different method. On the dropdown, select “Email”.
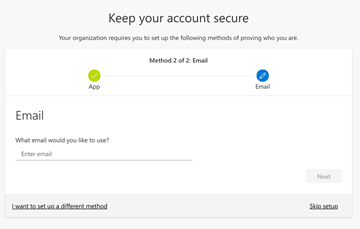
- Enter in a non-Westminster email address into the space provided, then click “Next”. You will then be emailed a code to the email you entered. Type that code into the space provided, the click “Next”.
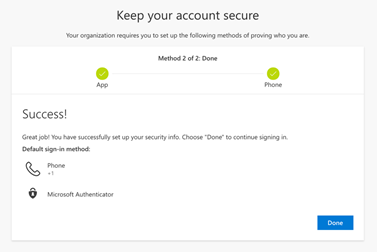
- Once you reach the page that says “Success!”, you are done with your security info setup. Click “Done” to continue into your email.
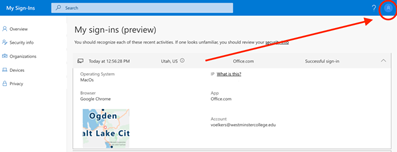
- If you ever want to modify your security info, go to mysignins.microsoft.com. Make sure that you are logged into your Westminster account by clicking on the profile icon in the top right and checking that the email listed is your Westminster email address.
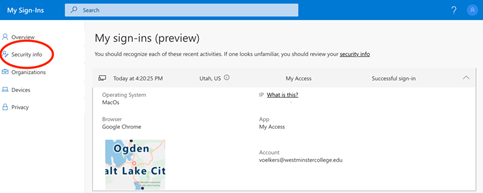
- Next, click on “Security info” on the left.
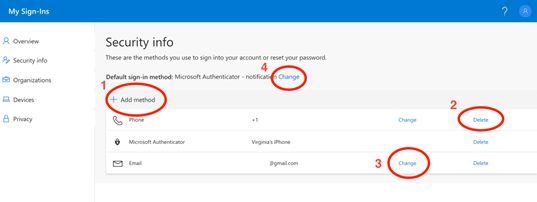
- You will be asked to authenticate your sign in using one of your security methods. On this page, you can 1. Add new methods of authentication, 2. Delete current methods of authentication, 3. Change your current methods of authentication, or 4. Change which method is used as the default sign in method.
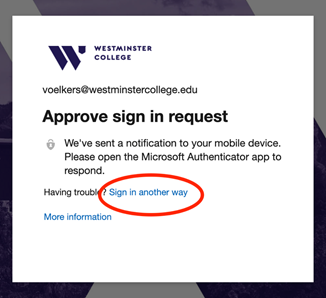
- If one of your methods of authentication stops working, you can still get into your account by selecting “Sign in another way”. You can then select a method that is still working.
- If you ever find yourself locked out of your account because you no longer have access to ANY of the previous authentication methods you set up, please call the Help Desk at 801-832-2023.